
I made a thing! This was my first experience with electrical schematics, designing a PCB, fabrication, and making firmware for a new keyboard. The goal of making this keyboard was to learn all those things and see if going from idea to reality was possible for someone with little familiarity with hardware design. Turns out, even an excitable and distracted parent can figure it out over the course of an embarrassingly unspecified number of evenings. I wanted just a few things from the design; to be low profile, to have an HHKB style layout, and to have decent compatibility for common low profile MX stem keycaps (looking at you, 6u and 7u spacebars).
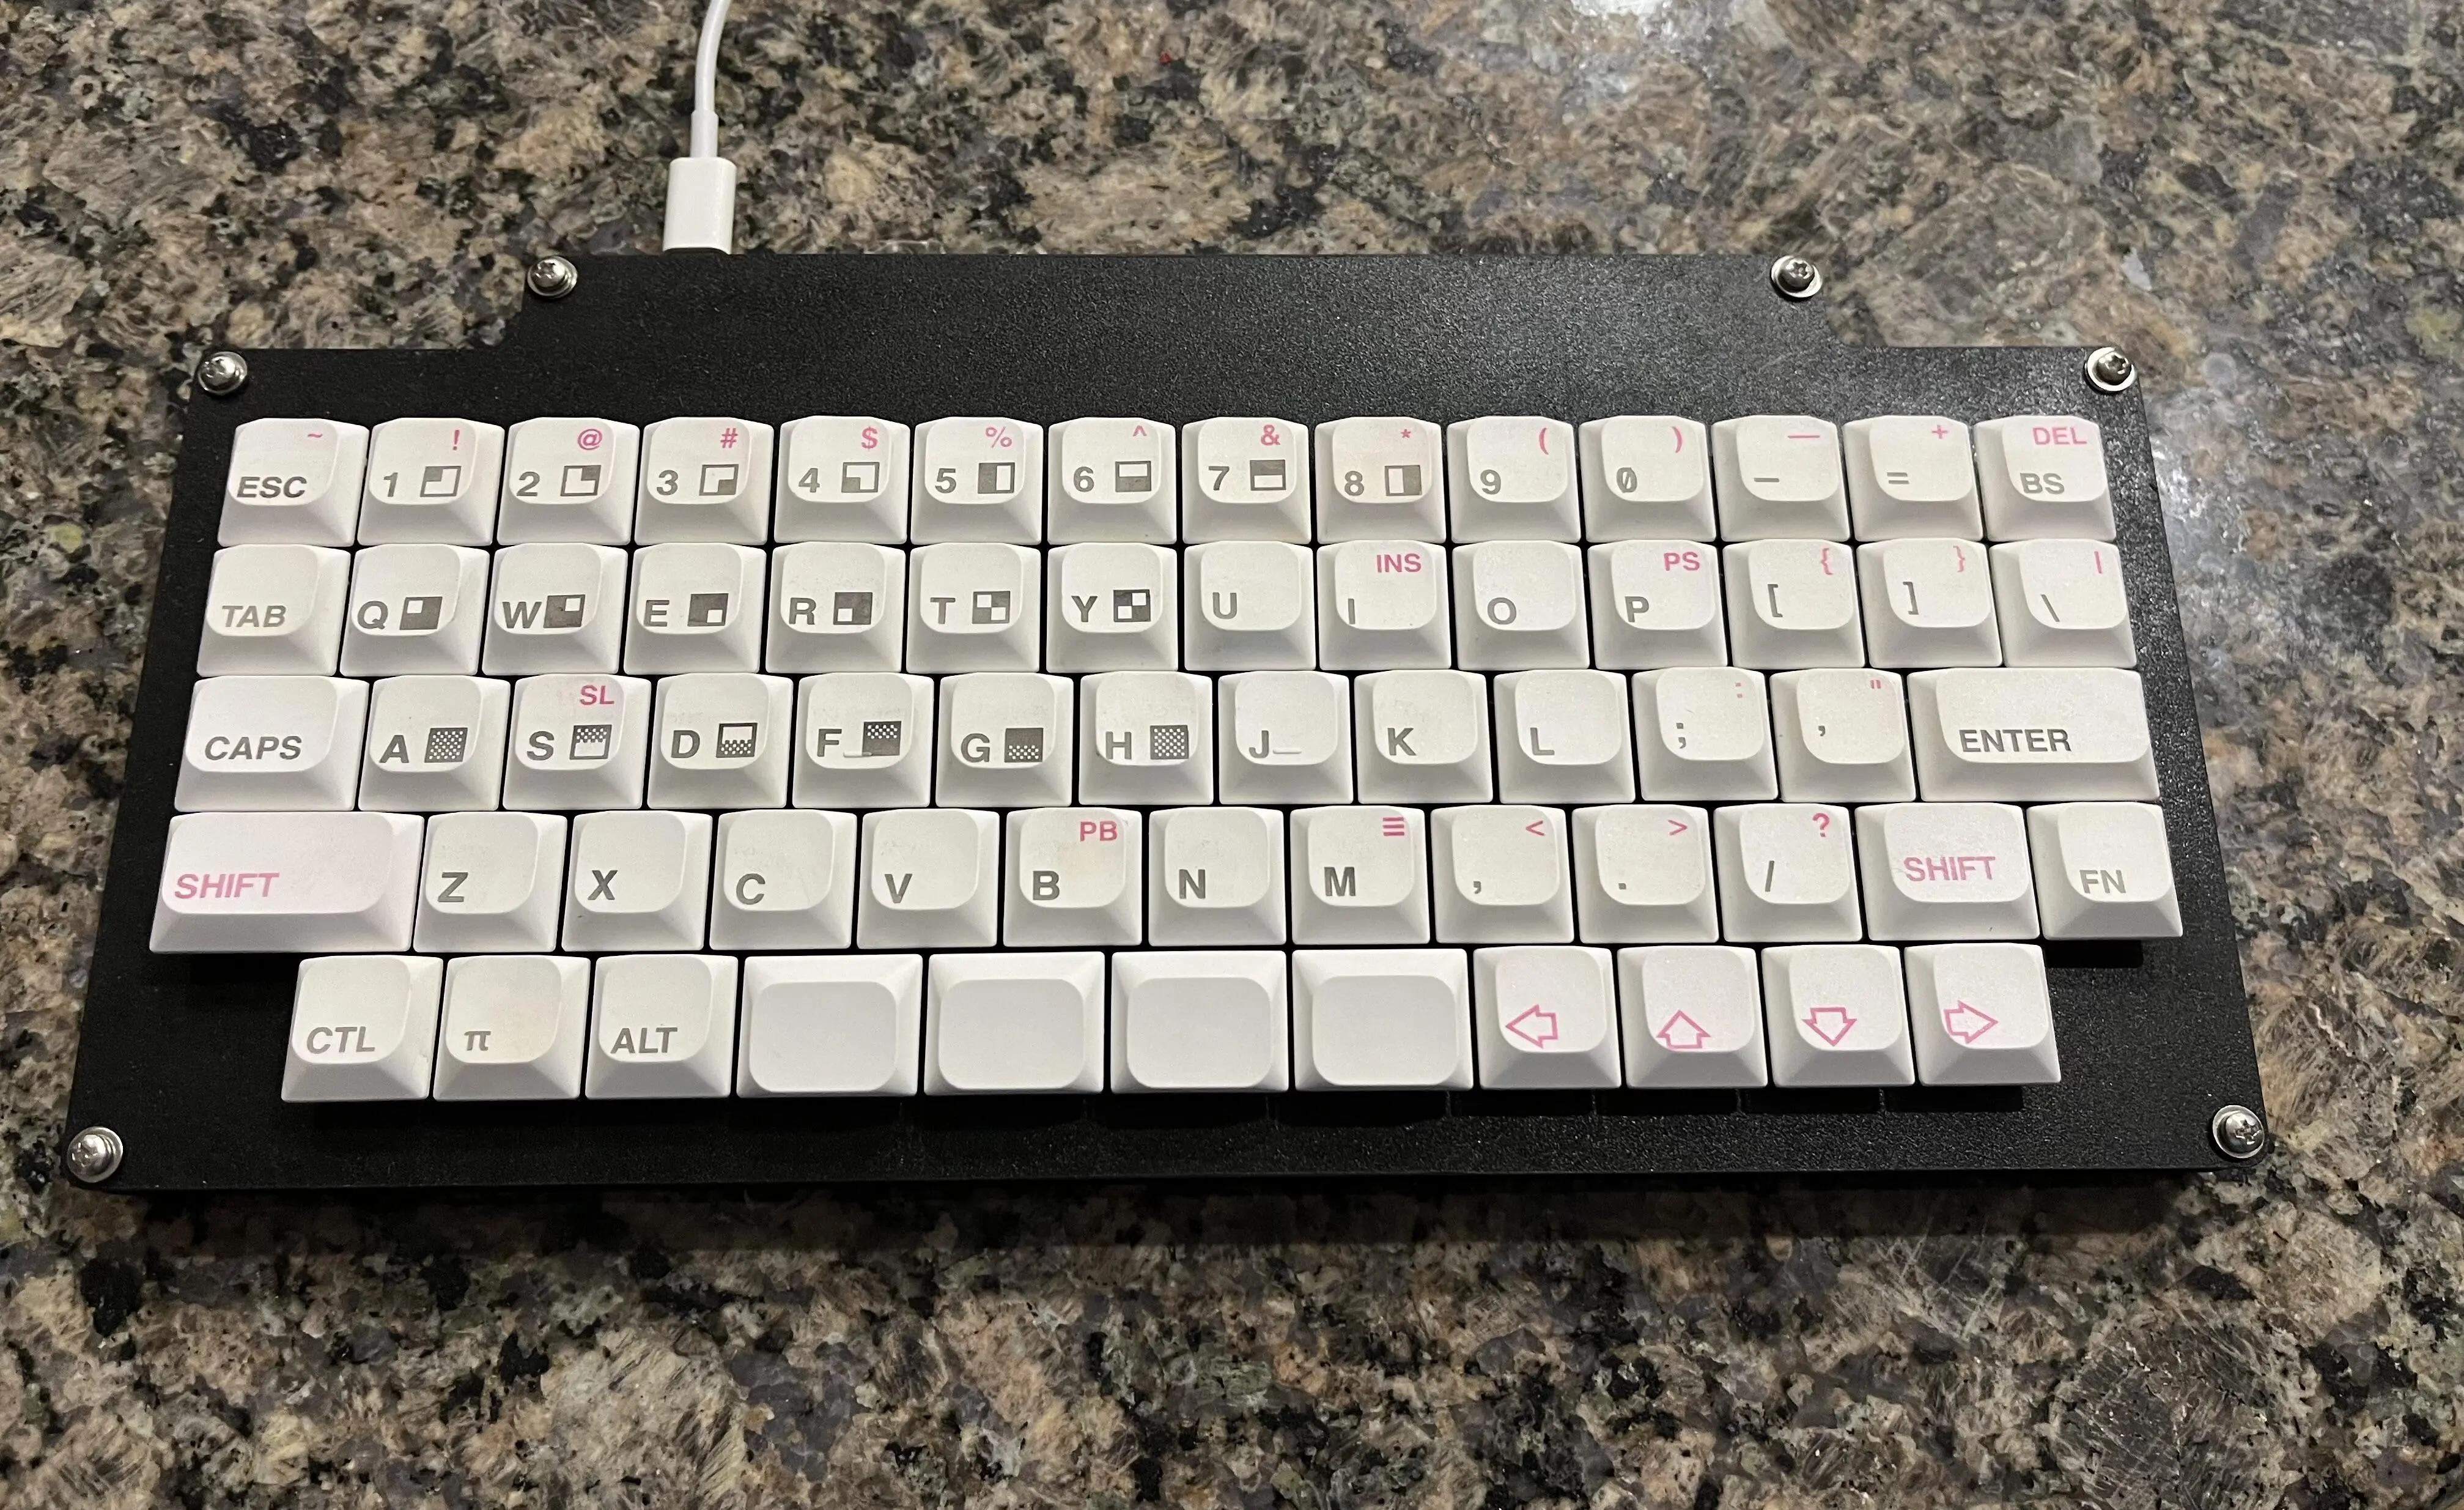
The result was the boethia60, featuring:
- rp2040 MCU with 16Mbit flash module
- firmware powered by rmk, written in blazingly fast rust
- which also has the side effect of working on most OSs (I use arch, btw)
- Kailh Choc hot swap sockets with Kailh Deep Sea Mini Islet switches
- basic sandwich FR4 case with 3DP middle layer still in the mail
- open source here: https://github.com/arviceblot/boethia60
JLCPCB printed and assembled the board, and they were super awesome at identifying my silly issues and providing technical support. It would be nice if they would start doing PCBA for Kailh Choc sockets as the do for MX, but just soldering the sockets was a small effort for a working keyboard.
There are a couple caveats that will need addressing another time. Turns out that choc stabilizers need a 1.2mm plate to mount correctly. Even though the plate has cutouts for them I don’t have any stabilizers installed because the 1.6mm FR4 plate I had cut was too thick. Also, the original plan was to use a 6.25u spacebar but I could not find any choc stabs wide enough to fit standard MX stem keycaps. Someone more clever or with more time could probably figure it out, but the workaround was to add the split spacebar. And on a final note, if you’re planning on printing top and bottom FR4 pieces from JLCPCB it’s worth paying the little extra to remove the order number marks for the final version.
Of course, this project does not exist in a vacuum and I relied on a ton resources. These links did a lot of the heavy lifting for my learning:
- https://www.masterzen.fr/2020/05/03/designing-a-keyboard-part-1/ - a great blog series about a similar journey I had to follow, tons of great info about kicad, hardware selection, and PCB design
- https://wiki.ai03.com/books/pcb-design/chapter/pcb-designer-guide - classic by ai03
- https://www.keyboard-layout-editor.com/ - great starting point for designing your layout, data used by lots of other useful tools
- https://kb.xyz.is/ - generates a basic kicad project with switch matrix and base PCB using KLE data
- http://builder.swillkb.com/ - plate builder using KLE data I used for the sandwich case
And many more worth finding, especially on this sub where others have well-written posts about their own journey designing a custom keyboard PCBs. If someone else decides to pursue this fun, it is a very satisfying experience to actually type on a keyboard that was once just an idea, as I am now. The problem now is to resist the urge to tweak the PCB and design a CNC aluminum case.
TL;DR It’s a custom low-profile HHKB style keyboard powered by the Prince of Plots, Deceiver of Nations, He-Who-Destroys and She-Who-Erases, but it’s probably fine!
Super satisfying, right? Mine are all in KMK, and I’ve only done one half-assed PCB design (I literally just left a linear row of vias to hand-wire to the RP2040), with the rest being hand-wires. When you’re done, and it works as well as a commercial keyboard but you can see all your choices made real, it’s really cool.
One of mine looks a tiny bit like yours:
That looks great!
Thanks. Yours came out brilliant, btw. I think the old school sandwich cases are perfect for low-profile switches and caps. Mine here uses “half-height” or “dwarf” Outemus that have standard MX footprint, and a profile from Aliexpress called “JWA”.
For higher-profile designs, you can tweak the concept to stack additional layers (swill can generate them, but I still prefer to directly edit the DXFs after) and have the 3D-printed spacers extend out and around like a shroud. You can also just put some threaded inserts into a larger 3D-print and have a kind of top-mount.
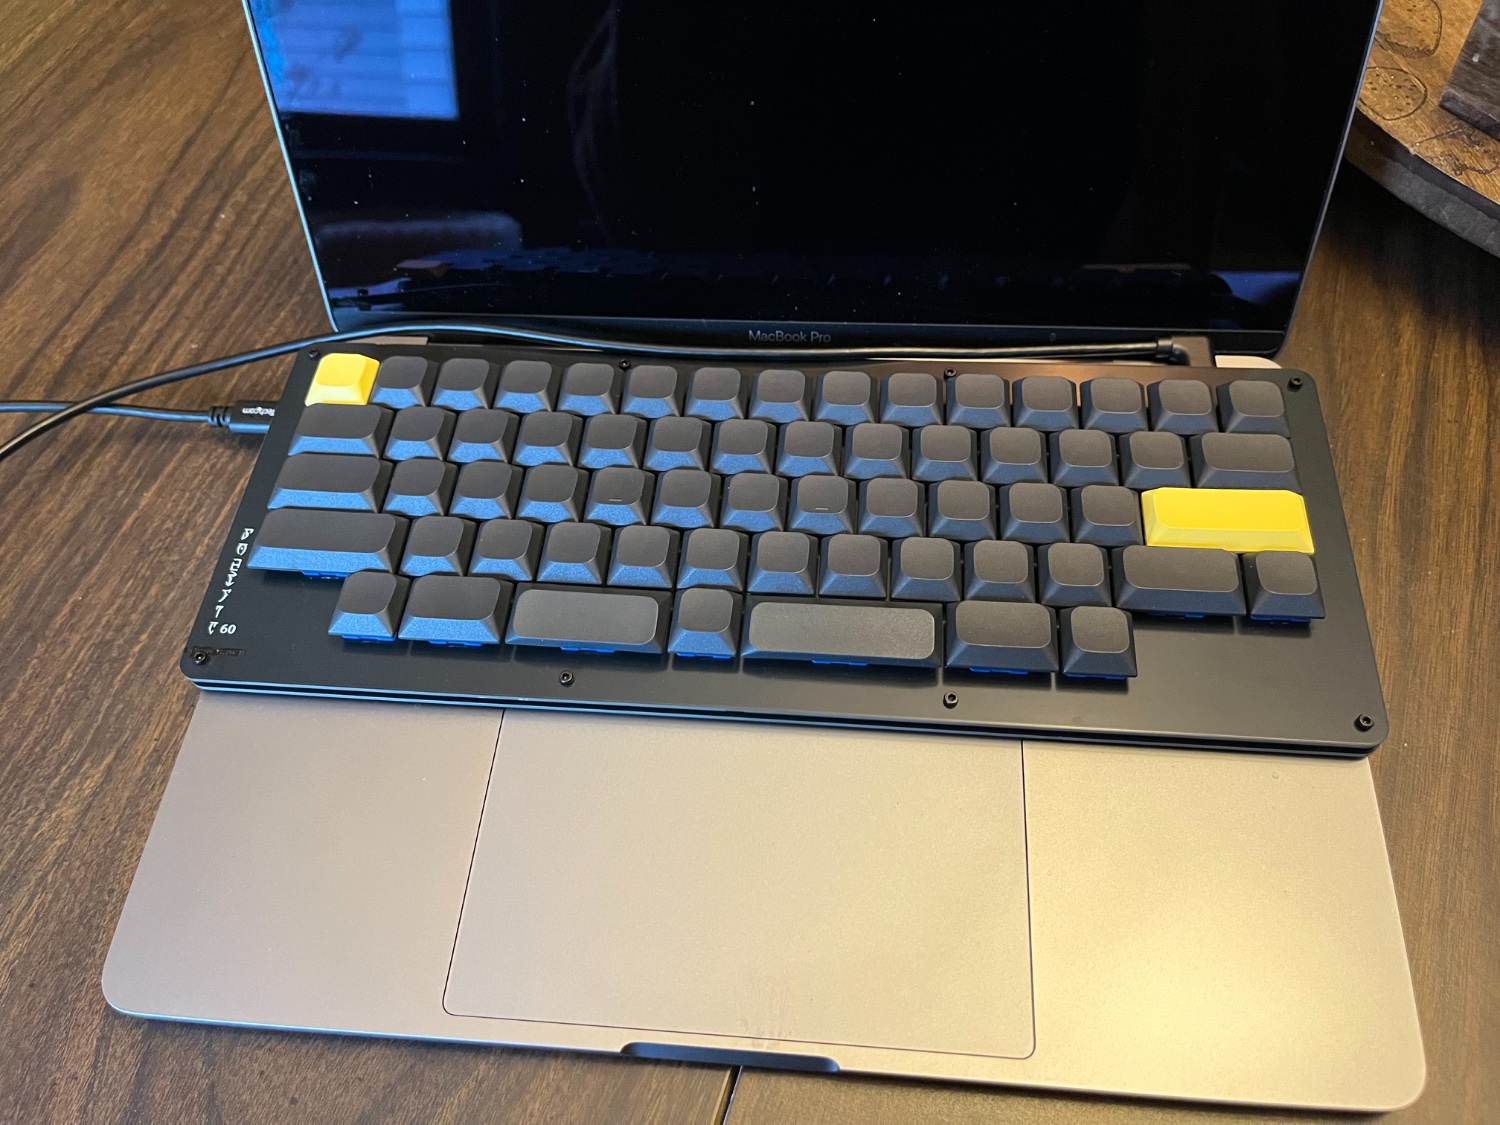
I wonder if would be possible to custom build a mechanical keyboard like this and fit it in a Thinkpad or NovaCustom laptops.
I’m sure it would be! I didn’t worry about dimensions too much since I have the laptop keyboard disabled with the new one plugged in.
Looks super cool!
Spacebar is cool AF!
Thank you very much!